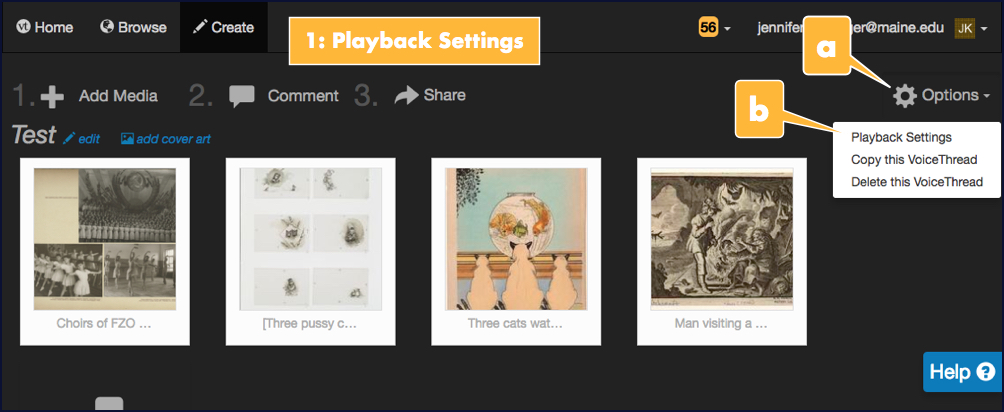
1: Check your presentation’s playback settings.
You’ll find all sorts of options in your presentation’s playback settings, including ones for restricting how students can comment on your presentation, limiting the length of audio comments, and more. To locate a presentation’s playback settings,
- Click Options on the top-right side of any page when you have a presentation open for editing.
- Click Playback Settings on its dropdown menu.
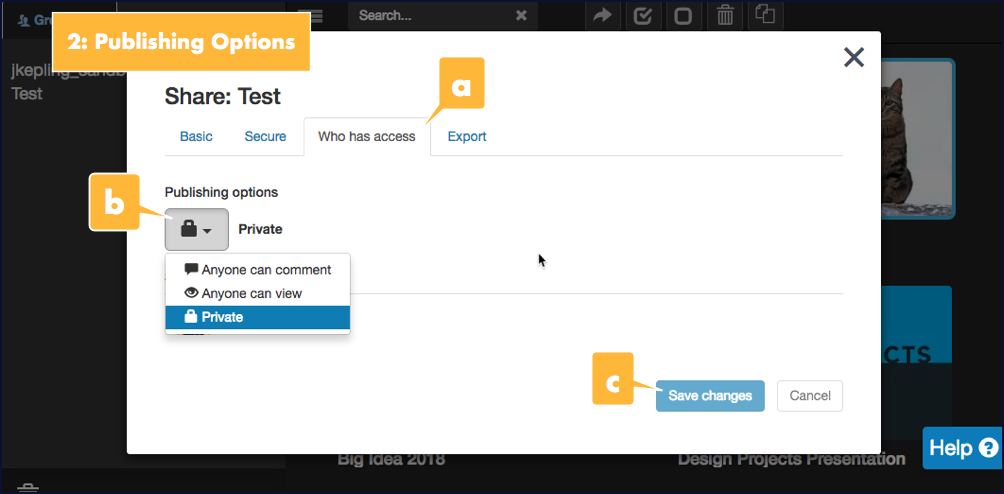
2: Publish your presentation.
By default, all VoiceThread presentations are set to “private,” which means it’ll only be visible if you share it with a group or an individual person via email. You’ll need to change your presentation’s publication status if you want someone outside of your class to be able to access it, and even if you select the “Anyone can comment” or “Anyone can view” option, it won’t show up in search results. Someone will need to have the direct link to your presentation to find it.
To find your presentation’s publication setting,
- Click the Who Has Access tab in your presentation’s sharing settings.
- Click the box with a dropdown arrow under the “Publishing options” heading to display its menu, and select an option other than Private.
- Click the Save Changes button at the bottom of the window.
3: Select the right options when you share your VoiceThread with a group.
You can allow students in a class group to view, comment, and even edit your VoiceThread presentation. To find these settings,
- Click the Secure tab in your presentation’s sharing settings. (Group sharing settings are listed under this tab, separate from general sharing settings, which can be found under the Basic tab.)
- Select the appropriate group from your list of groups on the left side of the window.
- Select or de-select icons in the “Allow them to…” section to set students’ level of access to your presentation. (Both view and comment are selected by default.)
- Click the Share button. Your presentation will now be listed in your group’s page.

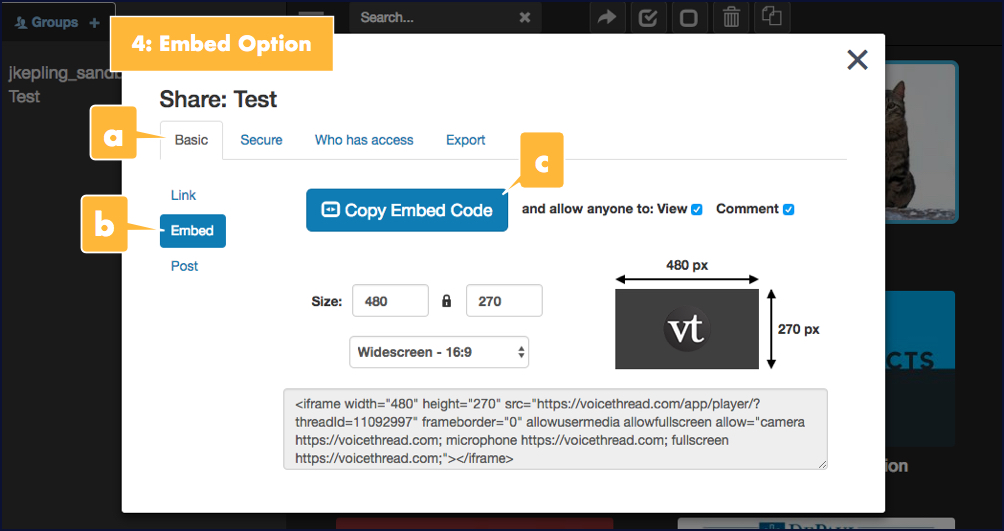
4: Embed or link to your VoiceThread presentation in Blackboard.
Linking is pretty self-explanatory, but you can alternately paste an embed code for your presentation in any textbox with an editor in Blackboard, including a content item, content folder description, discussion forum or assignment folder description, or announcement. Then, students can view your presentation right within Blackboard.
To copy your presentation’s link or embed code,
- Click the Basic tab in its sharing settings. A link will display in this window when it opens, and you can copy it if you only want to link to your presentation.
- Click the Embed link on the left side of the window if you’d rather embed your presentation.
- Click the Copy Embed Code button. You can now paste this code into Blackboard. (See the Quickguide section below if you need instructions for embedding media in Blackboard.)
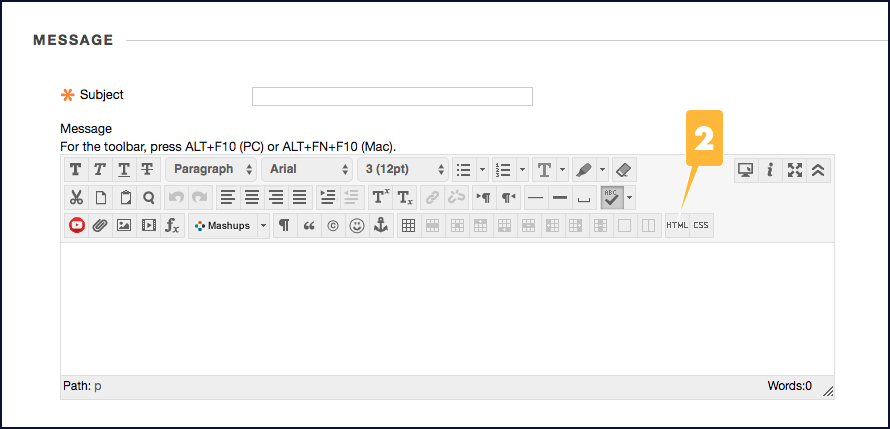
Quickguide to Embedding Media in Blackboard
- Go to where you want to embed your presentation in Blackboard, i.e., a new announcement, content item, discussion thread, etc.
- Click the HTML button on the bottom-right side of the “Message” textbox’s toolbar. The “HTML code view” window will open.
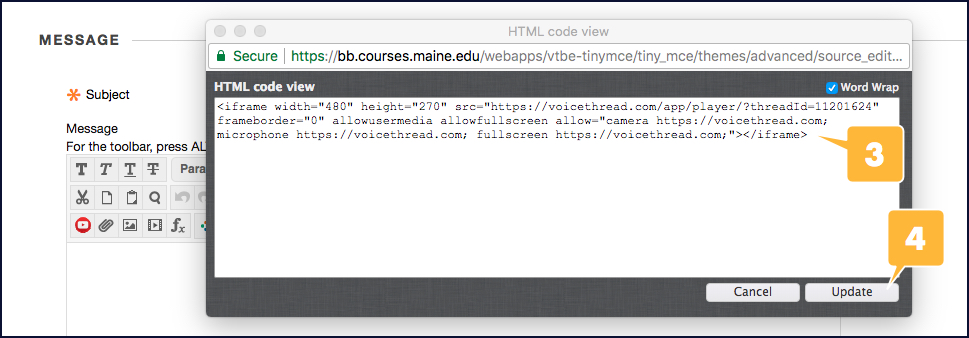
- Paste your presentation’s embed code in this window (i.e., click CTRL + V on a PC or Command + V on a Mac).
- Click the Update button at the bottom-right side of the window. The window will close, and a blank box, which is a placeholder for your presentation, will appear in the “Message” textbox. Once you submit your thread, your presentation will appear in place of the blank box.